


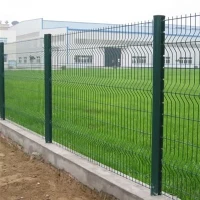


Installing a Y post fence is a project that requires careful planning and the right set of tools. As a Y Post Fence supplier, I've had the opportunity to work with numerous customers on their fencing projects. In this blog post, I'll share the essential tools you need to install a Y post fence successfully.
1. Measuring Tools
Accurate measurements are the foundation of any successful fencing project. You'll need the following measuring tools:

- Tape Measure: A good-quality tape measure is essential for measuring the length of the fence line, the spacing between posts, and the height of the fence. Make sure to choose a tape measure that is long enough for your project, typically at least 50 feet.
- String Line: A string line helps you create a straight and level fence line. Stretch the string between two stakes at each end of the fence line and use it as a guide for setting the posts.
2. Digging Tools
Digging the post holes is one of the most labor-intensive parts of the fence installation process. The following tools will make this task easier:
- Post Hole Digger: A post hole digger is a must-have tool for digging the holes for your Y posts. There are two main types of post hole diggers: manual and powered. Manual post hole diggers are suitable for small projects, while powered post hole diggers are more efficient for larger projects.
- Shovel: A shovel is useful for removing the soil from the post holes and for backfilling around the posts after they are installed.
3. Post Installation Tools
Once you've dug the post holes, you'll need the following tools to install the Y posts:
- Post Driver: A post driver is used to drive the Y posts into the ground. There are several types of post drivers available, including manual, pneumatic, and hydraulic. Manual post drivers are the most affordable option, but they require more physical effort. Pneumatic and hydraulic post drivers are more powerful and efficient, but they are also more expensive.
- Level: A level is used to ensure that the Y posts are installed vertically. Place the level against the post and adjust it until the bubble is centered.
4. Fence Attachment Tools
After the Y posts are installed, you'll need to attach the fencing material to the posts. The following tools are essential for this task:
- Wire Cutters: Wire cutters are used to cut the fencing material to the desired length. Make sure to choose wire cutters that are strong enough to cut through the type of fencing material you are using.
- Pliers: Pliers are used to bend and twist the wire around the posts and to secure the fencing material in place.
- Staples and Staple Gun: Staples and a staple gun are used to attach the fencing material to the posts. Make sure to choose staples that are the right size for the fencing material and the posts.
5. Safety Tools
Safety should always be a top priority when working on any project. The following safety tools are essential for installing a Y post fence:
- Safety Glasses: Safety glasses protect your eyes from flying debris and dust.
- Gloves: Gloves protect your hands from cuts, blisters, and other injuries.
- Hard Hat: A hard hat protects your head from falling objects.
6. Additional Tools
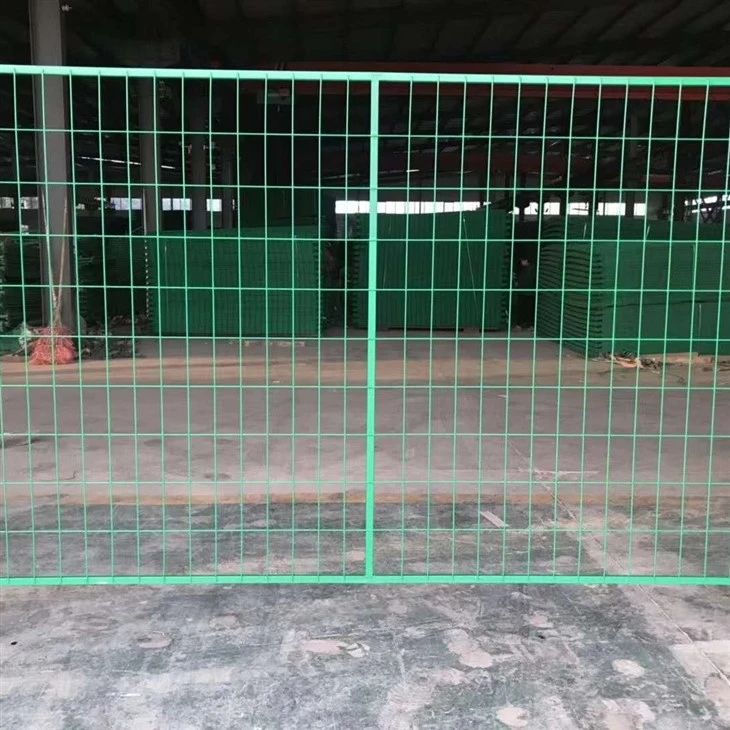
Depending on the type of fencing material you are using, you may need additional tools. For example, if you are using Framed Wire Mesh Fence, you may need a drill to attach the mesh to the frame. If you are using Double Wire Fence, you may need a special tool to twist the wires together.
Conclusion
Installing a Y post fence requires a variety of tools, but with the right tools and a little bit of know-how, you can complete the project successfully. As a Y Post Fence supplier, I'm here to help you choose the right tools and fencing material for your project. If you have any questions or need further assistance, please don't hesitate to contact me. I look forward to working with you on your next fencing project.
References
- "Fence Installation Guide." Home Depot.
- "How to Install a Fence." Lowe's.
- "Y Post Fence Installation Tips." Fence Depot.